Caching OpenAI API responses
Learn how to cache OpenAI API responses to save money and improve performance
When using AI models in your API, you might face the issue that either the model is too slow, even though the same prompt is being used over and over, or that you're paying too much for the same response.
This is a perfect scenario where caching the API responses can help you improve the performance of your API and save money on your OpenAI bill.
Using an AI Gateway
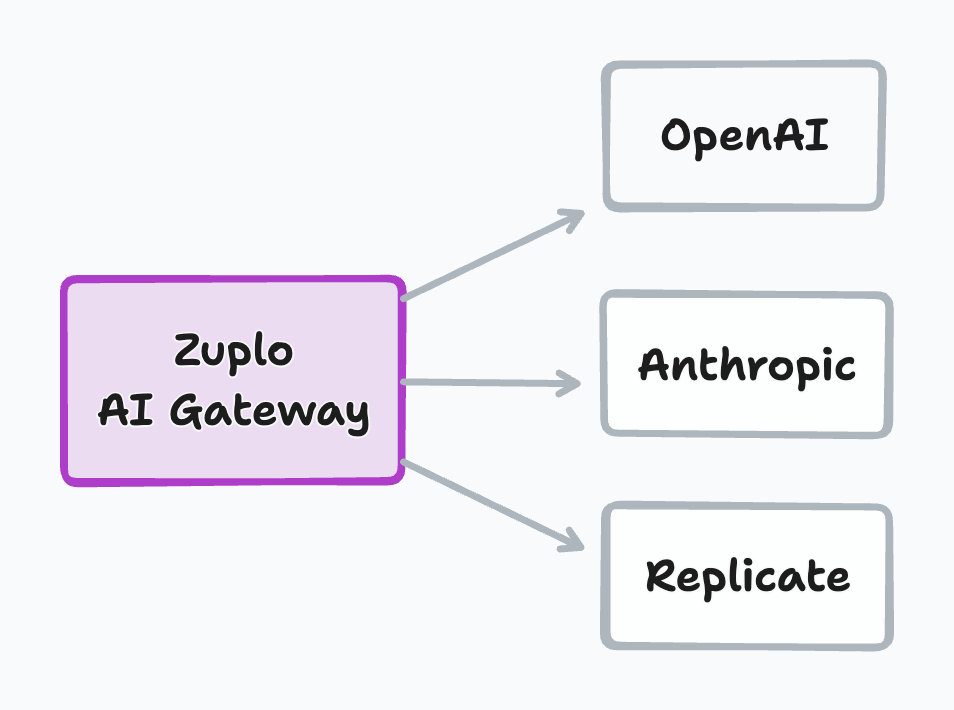
When putting your AI apps behind an API Gateway like Zuplo, you can easily configure caching for your API responses, this is done by adding a simple custom policy.
Additionally, the API Gateway can serve as the main entry point for all your AI APIs, becoming the source of truth for all your AI API analytics.

You can then leverage API Gateway features like Rate Limiting, to protect your API from abuse or control the number of requests every user can make to your API; and API Keys, to control who can access your API.
Walkthrough
This walkthrough will deploy a single path API that uses the OpenAI API to generate text, and we'll add caching to it.
Step 1 - Create a new Zuplo project
Sign up to Zuplo and create a new empty project.
Step 2 - Add a module that uses the OpenAI API
In your project, go to Files and under Modules create a new Request Handler and call it generate.ts.
This is the code that will be executed when a request comes to your API. You could also have your own server running and connect it to Zuplo, but for this tutorial we can leverage Zuplo's programmability to create a simple API.
Open the newly created file and in the code editor, paste the following code replacing everything that's in the file:
import { ZuploContext, ZuploRequest, ZoneCache } from "@zuplo/runtime";
import OpenAI from "openai";
import { environment } from "@zuplo/runtime";

export const openai = new OpenAI({
  apiKey: environment.OPENAI_API_KEY || "",
  organization: null,
});

export default async function (request: ZuploRequest, context: ZuploContext) {
  const today = new Date();
  const dateFormatter = new Intl.DateTimeFormat("en-US", {
    year: "numeric",
    month: "long",
    day: "numeric",
  });
  const todayString = dateFormatter.format(today);

  const cache = new ZoneCache("quotes-cache", context);

  const cachedQuote = await cache.get(todayString);

  // If we have a cached quote for the day, return it immediately
  if (cachedQuote) {
    return new JsonResponse({
      quote: cachedQuote,
    });
  }

  const chatCompletion = await openai.chat.completions.create({
    model: "gpt-3.5-turbo-0613",
    messages: [
      {
        role: "system",
        content: "You are a VC partner that shares unreliable quotes.",
      },
      {
        role: "user",
        content: `Please tell me a quote for the date ${todayString}.`,
      },
    ],
  });

  const quote = chatCompletion.choices[0].message.content;

  // This call does not use `await` because we don't want
  // to wait for the cache to be updated before returning
  cache.put(todayString, quote, 86400).catch((err) => context.log.error(err));

  return new JsonResponse({
    quote,
  });
}

class JsonResponse extends Response {
  constructor(body: any, init?: ResponseInit) {
    super(JSON.stringify(body), {
      headers: {
        "Content-Type": "application/json",
        ...init?.headers,
      },
      ...init,
    });
  }
}
Now click on Save All at the bottom of the page.
Step 3 - Configure environment variables
In the code, you'll notice that we're using an environment variable called OPENAI_API_KEY, this is where you'll need to add your OpenAI API key.
To do that, go to Project Settings > Environment Variables and add a new variable OPENAI_API_KEY with your OpenAI API key as the value (you can mark it as secret).
Step 4 - Create a route in your API
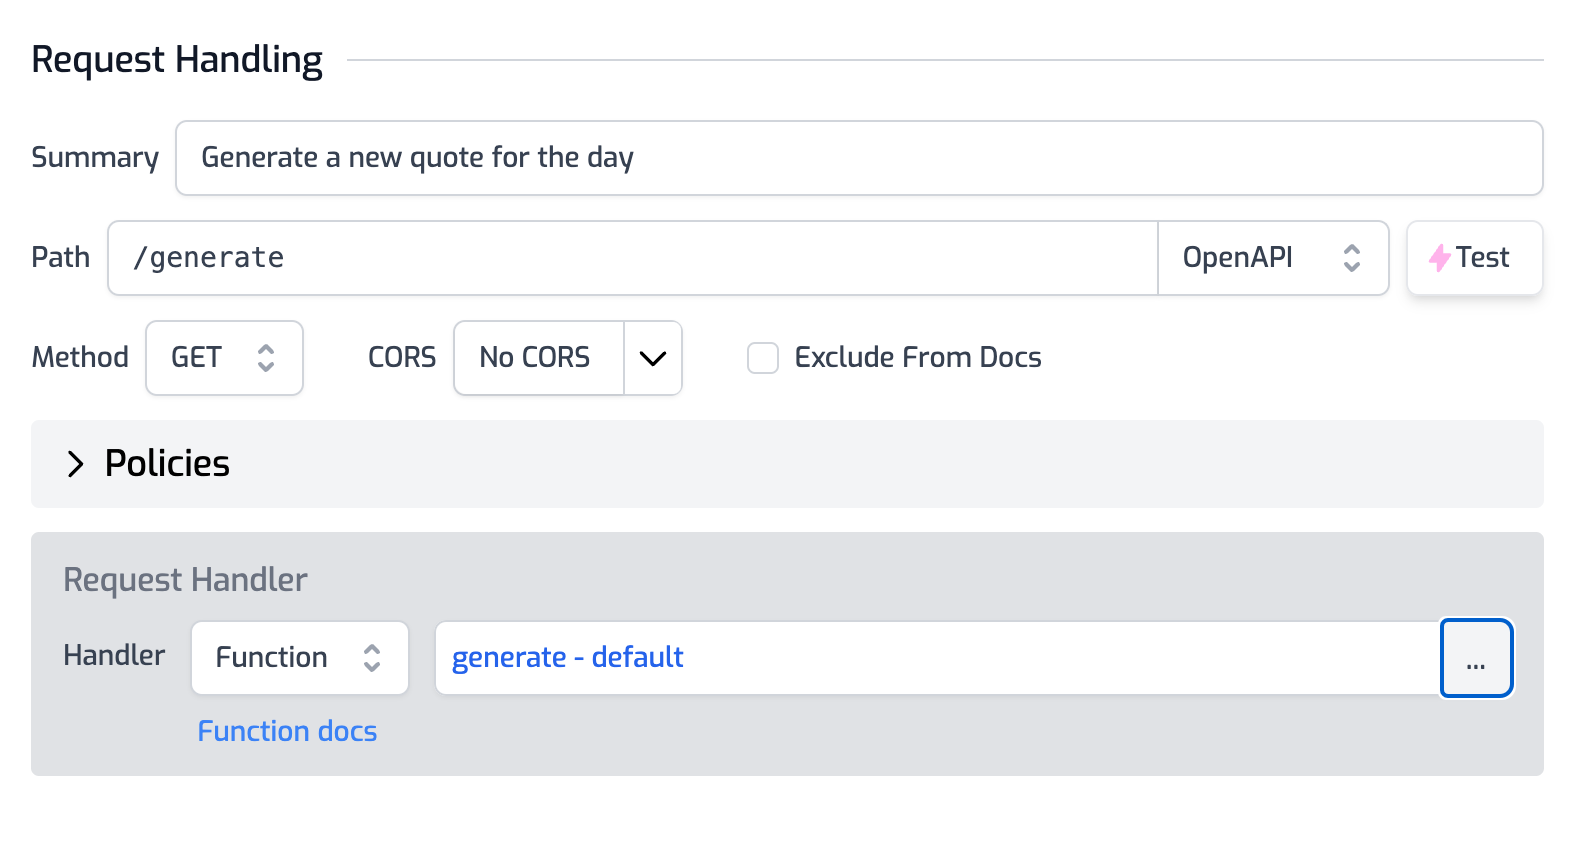
We will now create an API route that will use the module we just created to generate a quote for the day, the endpoint will be /generate and receives a GET request.
Click on File > routes.oas.json > Add Route. Configure the route as follows:
Description: Generate a quote for the day
Path: /generate
Method: GET
In the Request handler section, select the module you created in the previous step, note that this will be of type Function.

And hit Save All at the bottom of the page.
Step 5 - Test your API
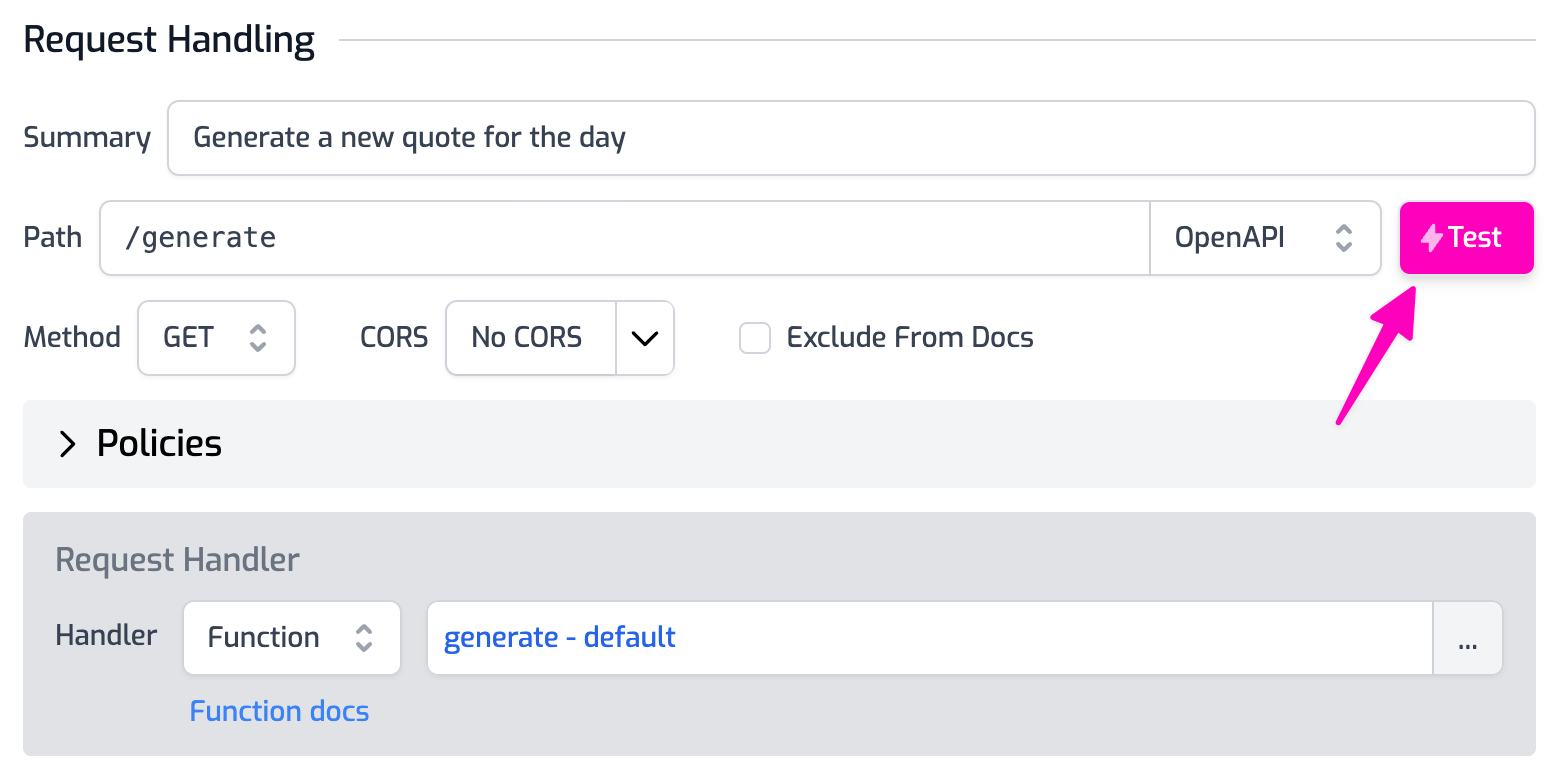
Open the Test Console by clicking on the route you just created, and hit Test.

The first time you run the test, it will take a few seconds to generate the quote, but if you run it again, you'll see that it's much faster as the quote is cached and you're not hitting the OpenAI API again.
Conclusion
Building AI-based APIs is a great way to leverage the power of AI in your applications, but it can be expensive and slow. By using an API Gateway like Zuplo, you can easily add caching to your API responses and save money and improve performance.
